 Installation Guide | Front & Front Mounting Plus Brackets
- Measure and mark the appropriate mounting locations on your wall.
- Remove sheet rock in the area of the stud where the bracket will be mounted.
 HINT: For floor-to-ceiling wall installation use a chalk line to pop a straight, level line.
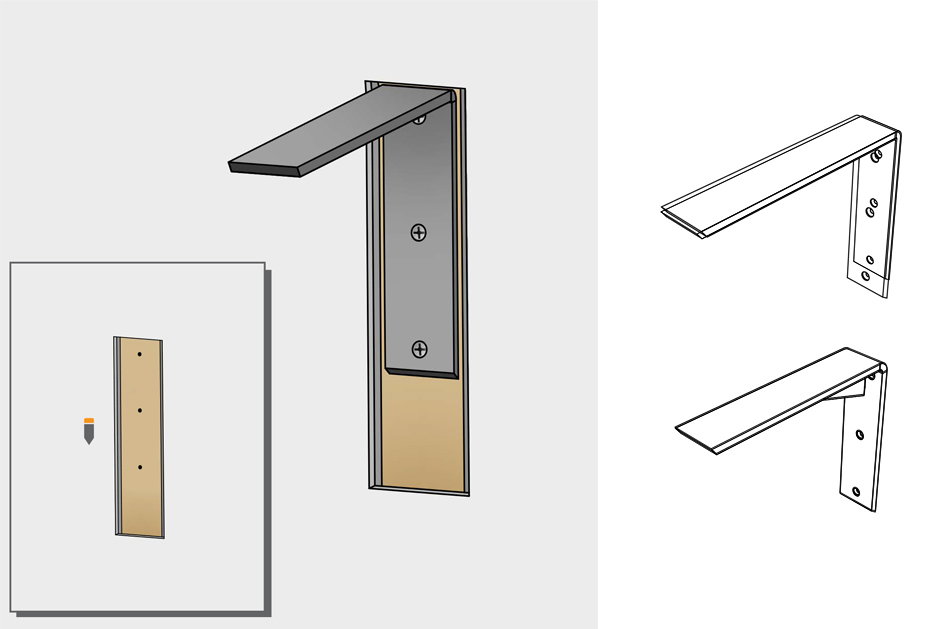
- Securely mount the bracket to the stud using the #12 wood screws provided and ensure that the top of the bracket is level with the granite placement. If you find that your stud wall is not square be sure to shim the bracket.
- HINT: Using the bracket as a template for hole placement, pre-drill holes using a 9/64” bit. This will help ensure the wood doesn’t split.
- Once the bracket is fastened, patch the wall with a quick-patch kit.
- Prior to setting the top in place, run a bead of high-quality silicone adhesive down the center of each bracket.